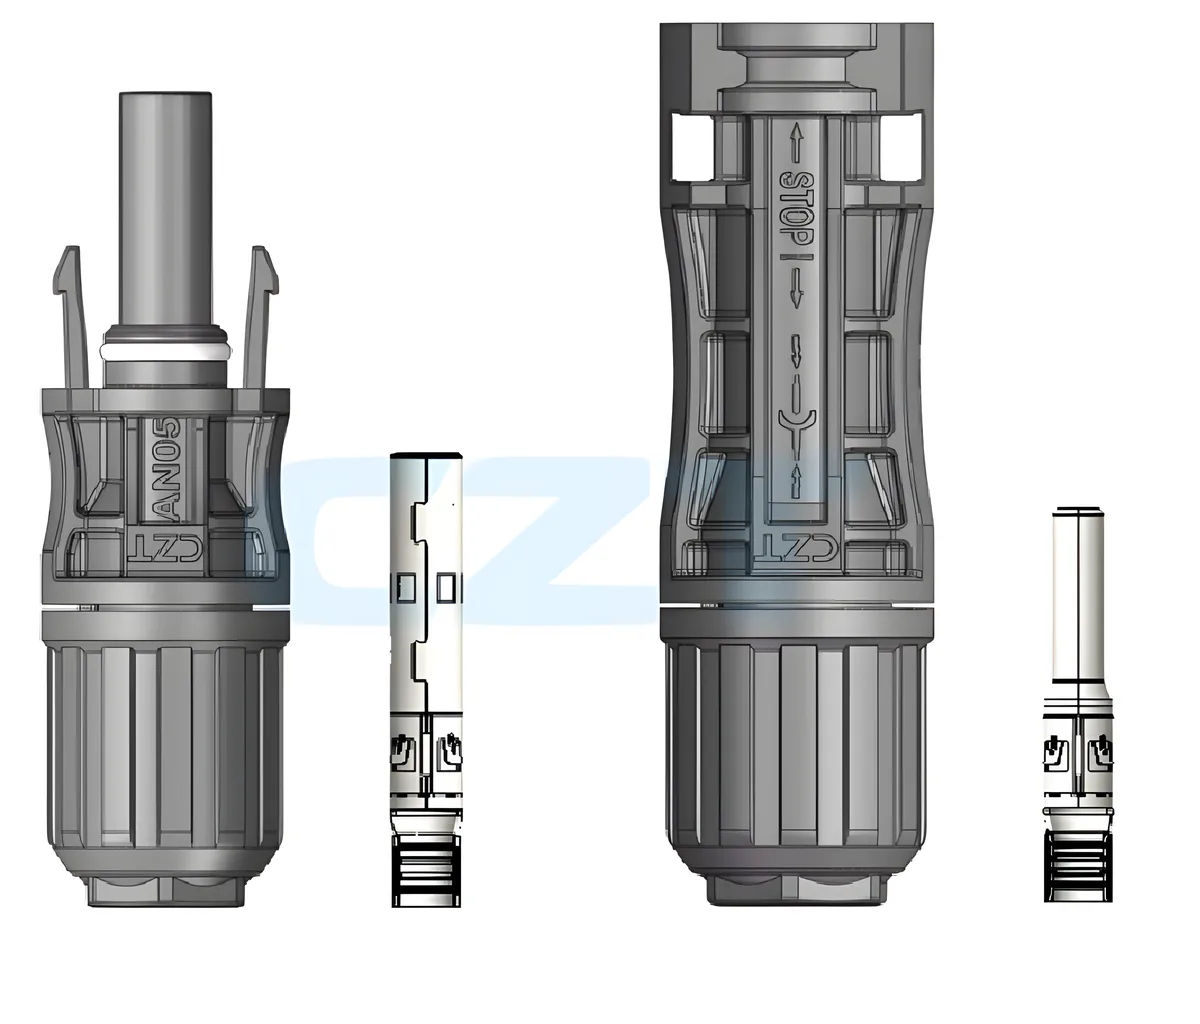
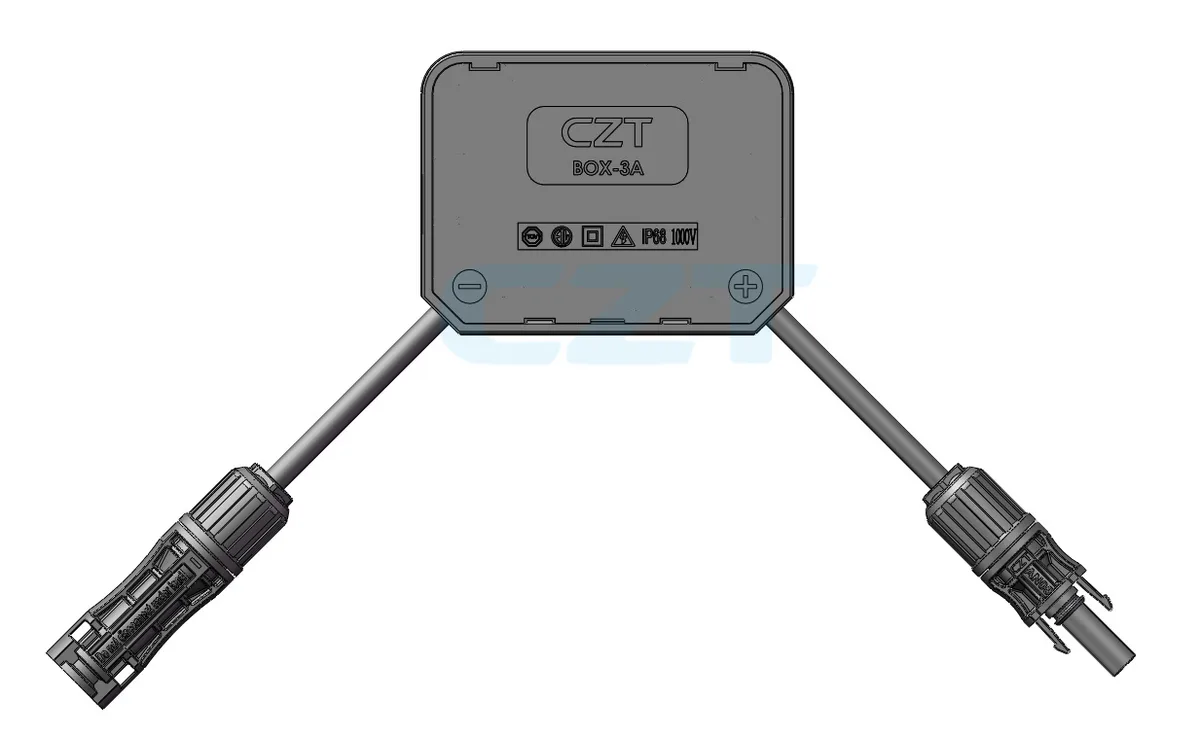
Every solar photovoltaic installation depends on reliable electrical connections. A single faulty connector can cause arc faults, power loss, or even fire. Solar panel connectors are purpose-built to handle the unique demands of PV systems: high DC voltage, extreme UV exposure, temperature swings, and decades of outdoor service.
This guide covers everything you need to know about solar connectors — from choosing the right type to wiring panels in series and parallel, plus the installation best practices that separate safe, code-compliant work from potential hazards.
If you are sourcing solar PV connectors for a residential, commercial, or utility-scale project, this article provides the technical foundation you need.
What Are Solar Panel Connectors?
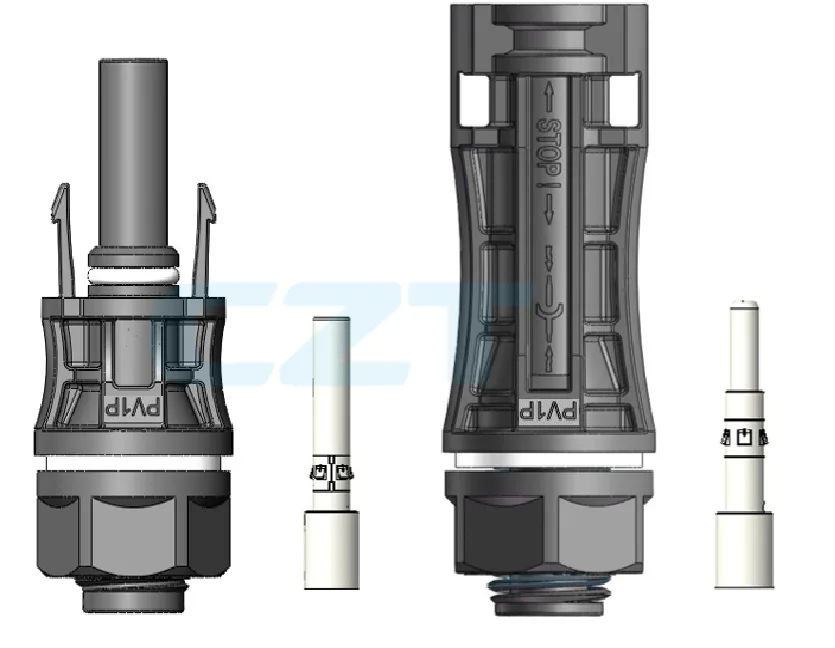
Solar panel connectors are specialized electrical connectors designed to join photovoltaic modules, inverters, combiner boxes, and other balance-of-system components. Unlike standard electrical connectors, PV connectors must withstand:
- High DC voltage — up to 1,500V in modern utility-scale systems
- UV radiation — decades of direct sunlight without material degradation
- Temperature extremes — from -40°C to +85°C operating range
- Moisture ingress — IP67 or IP68 rated for rain, snow, and humidity
- Mechanical stress — wind loading, thermal expansion, and installation handling
The industry standard connector for solar panels is the MC4 connector, which has dominated the market since the early 2000s. For a deep dive into MC4 specifications, see our MC4 Connector Guide.
Types of Solar Panel Connectors
While MC4 is the dominant standard, several connector types exist in the solar industry:
| Connector Type | Manufacturer | Contact Size | Voltage Rating | Current Rating | Status |
|---|---|---|---|---|---|
| MC4 | Stäubli (Multi-Contact) | 4mm | 1000V/1500V DC | 30A-40A | Industry standard |
| MC4-Compatible | Various (including CZT) | 4mm | 1000V/1500V DC | 30A-40A | Widely used |
| H4 | Amphenol | 4mm | 1500V DC | 40A | Growing adoption |
| Solarlok | TE Connectivity (Tyco) | Proprietary | 1000V DC | 30A | Legacy/declining |
| TS4 | Tigo Energy | Proprietary | 1000V DC | 15A | Module-level optimization |
MC4 and MC4-compatible connectors account for over 90% of new solar installations worldwide. Their snap-lock design, touch-safe contacts, and broad cross-compatibility make them the safest and most practical choice.

MC4 Connector Essentials
The MC4 connector uses a male/female pair design. The male connector houses a 4mm pin contact, while the female connector contains a socket contact. Key specifications:
| Parameter | Specification |
|---|---|
| Contact diameter | 4mm |
| System voltage | 1000V DC (TUV) / 1500V DC (IEC) |
| Rated current | 30A (standard) / 40A (high-current) |
| Contact resistance | < 0.5 mΩ |
| IP rating | IP67 (mated) / IP68 (some models) |
| Operating temperature | -40°C to +85°C |
| UV resistance | Yes (PPO/PA housing) |
| Mating cycles | 25+ (per TUV) |
| Wire gauge | 2.5mm² to 6mm² (14AWG to 10AWG) |
The locking mechanism requires a special disconnect tool to separate mated pairs, preventing accidental disconnection. This is a critical safety feature — MC4 connectors carry DC current that does not cross zero, making arc faults more dangerous than with AC connections.
Solar Panel Wiring Basics
Understanding how to wire solar panels is essential for system design. There are two fundamental configurations: series and parallel.
Series Wiring
In a series connection, the positive terminal of one panel connects to the negative terminal of the next. This adds voltage while keeping current constant.
- 10 panels × 40V = 400V string voltage
- Current remains at the panel's Imp (e.g., 10A)
- Fewer conductors needed
- Higher voltage means lower I²R losses over long cable runs
Series strings are the standard configuration for grid-tied inverters, which require a minimum input voltage to operate.
Parallel Wiring
In a parallel connection, all positive terminals connect together and all negative terminals connect together. This adds current while keeping voltage constant.
- 3 strings in parallel: voltage stays at 400V, current = 3 × 10A = 30A
- Requires branch connectors or combiner box
- Each string should be fuse-protected
Series-Parallel Combination
Most real-world systems use a combination. Panels are wired in series to form strings, then strings are connected in parallel to reach the desired power output.

How to Wire Solar Panels with MC4 Connectors
Here is the standard wiring sequence for a residential or commercial rooftop system:
Step 1: Plan the layout. Determine string length based on inverter MPPT voltage window. Account for temperature-adjusted Voc to avoid exceeding inverter maximum input voltage.
Step 2: Connect panels in series. Route the positive MC4 lead from Panel 1 to the negative MC4 lead of Panel 2. The connectors snap together with an audible click. Continue for all panels in the string.
Step 3: Route string leads to combiner. The positive lead of the first panel and negative lead of the last panel in each string run to the combiner box or directly to the inverter.
Step 4: Use branch connectors for parallel strings. If combining strings before the combiner box, use Y-branch or T-branch MC4 connectors. Never twist bare wires together.
Step 5: Connect to inverter. Route combined DC leads to the inverter input terminals. Follow the inverter manufacturer's torque specifications for terminal connections.
Step 6: Test. Measure open-circuit voltage (Voc) and short-circuit current (Isc) of each string before energizing the inverter. Compare to expected values.
Branch Connectors and Combiners
Branch connectors allow parallel connection of multiple strings without a separate combiner box:
| Type | Configuration | Use Case |
|---|---|---|
| Y-Branch (2-to-1) | 2 strings → 1 output | Small residential systems |
| T-Branch (2-to-1) | 2 strings → 1 output (inline) | Space-constrained routing |
| 3-to-1 Branch | 3 strings → 1 output | Medium commercial systems |
| 4-to-1 Branch | 4 strings → 1 output | Larger arrays |
For systems with more than 2-3 parallel strings, a dedicated combiner box with string fuses is recommended. Combiner boxes provide overcurrent protection, disconnect capability, and a central monitoring point.

Solar Connector Installation Best Practices
Proper installation is the difference between a 25-year trouble-free system and a callback nightmare. Follow these practices:
Use the correct crimping tool. MC4 contacts require a specific crimp die (typically Stäubli PV-CZM-19100 or equivalent). Pliers and generic crimpers produce unreliable connections that degrade over time.
Strip wire to the correct length. Too short and the contact won't grip properly. Too long and bare copper may be exposed inside the housing. Follow the connector manufacturer's strip length specification (typically 7-9mm).
Verify crimp quality. After crimping, perform a pull test. The contact should withstand at least 50N of pull force without slipping. Many professional installers use a calibrated pull tester.
Ensure proper cable management. Secure cables with UV-rated cable ties or clips. Avoid sharp bends near connectors. Maintain minimum bend radius (typically 5× cable diameter).
Protect from UV and mechanical damage. Route cables under panel frames where possible. Use conduit for exposed runs. Avoid letting connectors rest in standing water.
Inspect regularly. Check connections annually for signs of discoloration, melting, or corrosion. Thermal imaging during operation can reveal hot spots from high-resistance connections.
Common Solar Connector Mistakes
These are the most frequent errors that lead to connector failures:
Mixing connector brands. MC4 connectors from different manufacturers may look similar but can have subtle dimensional differences. Cross-brand mating can result in loose connections, water ingress, and arc faults. Always use matched pairs from the same manufacturer.
Improper crimping. This is the number one cause of connector failures. Under-crimped contacts have high resistance, causing heat buildup. Over-crimped contacts can damage the wire strands, reducing current capacity.
Exposed connections. Unmated connectors left exposed to weather will corrode. Always cap unused connectors with protective covers.
Undersized wire. Using wire that is too small for the current causes excessive voltage drop and heat. Size wire based on NEC ampacity tables, accounting for temperature derating and conduit fill.
No strain relief. Connectors that hang unsupported will eventually fail from mechanical fatigue. Support cables at regular intervals and avoid tension on connector joints.
Solar Connector Safety Standards
Solar connectors must comply with rigorous safety standards:
| Standard | Scope | Key Requirements |
|---|---|---|
| IEC 62852 | International PV connector standard | Mechanical, electrical, environmental testing |
| UL 6703 | North American PV connector standard | Fire safety, durability, environmental exposure |
| TUV 2PfG 1169 | European PV connector certification | Comprehensive type testing |
| EN 50521 | European PV connector standard | Being replaced by IEC 62852 |
| NEC 690.33 | US installation requirements | Listed connectors, proper mating, accessibility |
TUV certification is particularly important. TUV-certified connectors have undergone thousands of hours of accelerated aging tests, including UV exposure, thermal cycling, humidity, and salt spray. Always verify that your connectors carry valid TUV certification.
The NEC rapid shutdown requirement (NEC 690.12) also affects connector selection. Systems must be able to reduce conductor voltage to safe levels within 30 seconds of initiating shutdown. This may require module-level power electronics with compatible connectors.
FAQ
Q: Can I mix MC4 connectors from different brands? A: It is not recommended. While many MC4-compatible connectors appear interchangeable, subtle dimensional differences can cause loose fits, increased contact resistance, and void warranties. Use matched pairs from a single manufacturer for each connection.
Q: How long do solar panel connectors last? A: Quality MC4 connectors are designed for a 25-year service life, matching the warranty period of most solar panels. Proper installation and periodic inspection are essential to achieving this lifespan.
Q: Do I need special tools to install MC4 connectors? A: Yes. You need a wire stripper, the correct MC4 crimp tool with matching die, and a disconnect tool for separating mated pairs. Using improper tools is the leading cause of connector failures.
Q: What wire size should I use with MC4 connectors? A: Most MC4 connectors accept 2.5mm² to 6mm² (14AWG to 10AWG) solar cable. The correct size depends on string current, cable run length, and local code requirements. 4mm² (12AWG) is the most common choice for residential systems.
Q: Are MC4 connectors waterproof? A: Properly mated MC4 connectors are rated IP67 (protected against temporary submersion) or IP68 (continuous submersion). However, this rating only applies when connectors are correctly assembled and fully engaged. Unmated connectors are not waterproof and must be capped.
Ready to Source Solar Connectors?
CZT manufactures TUV-certified MC4-compatible solar connectors, branch connectors, and PV cable assemblies for residential, commercial, and utility-scale installations. With 30+ years of connector manufacturing experience and ISO 9001 certification, we deliver the quality and reliability your solar projects demand.
Related Products: Solar PV Connectors | Renewable Energy Solutions